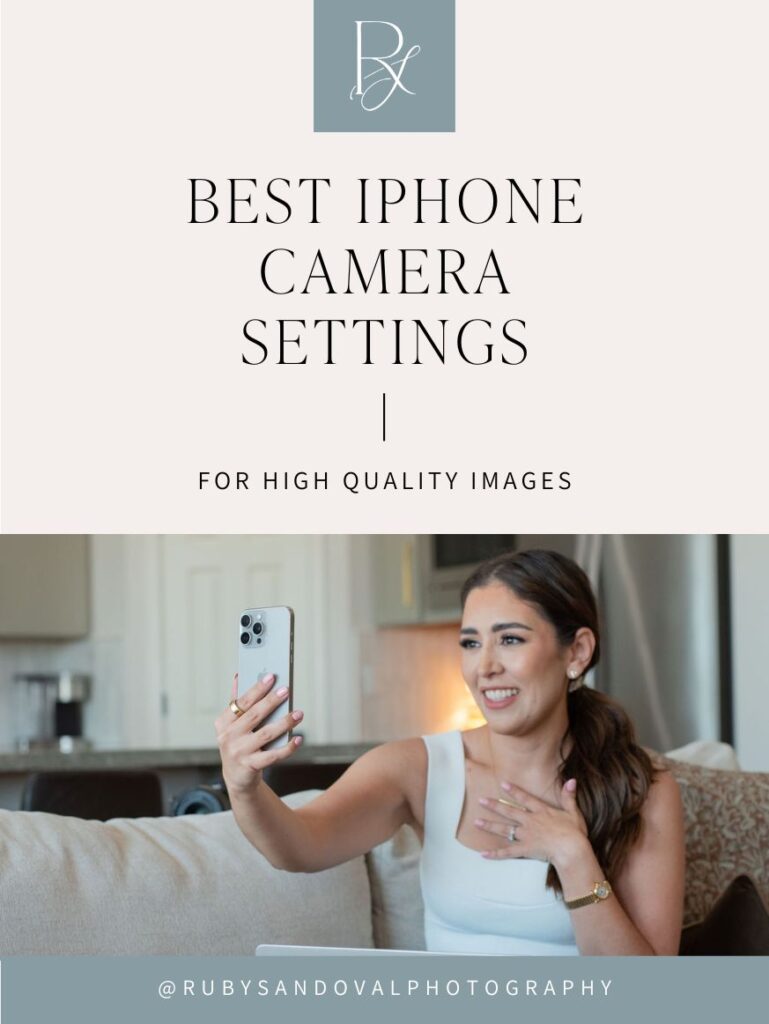
Your iPhone camera is capable of taking stunning photos and videos—but only if you tweak these settings first! If you’ve ever snapped a picture or recorded a video and thought, “Why doesn’t this look as sharp as I expected?” You’re not alone! Apple’s default settings are designed to save storage space, not to give you the best quality. But don’t worry, I’ve got you covered!
Today, I’ll walk you through the exact settings you need to change to get sharper photos, better videos, and an all-around huge improvement in your iPhone photography. Let’s dive in!
Want to follow along? Watch my step-by-step video tutorial here:
How to Change Your iPhone Photography Settings
First, open your Settings app and scroll down to Camera. You can also type Camera in the search bar. This is where you’ll find all the options we’ll be adjusting.
Optimize Video & Photo Quality
The first thing we need to fix is the quality of your videos and photos. Your iPhone is more than capable of shooting in high resolution, but Apple sets it to lower quality by default to save space. Let’s fix that!
1. Set Video Recording to 4K at 30fps
If you want sharper, high-quality video, go to Settings > Camera > Record Video and select 4K at 30fps. This setting gives you beautiful details without the choppiness of lower frame rates. If you record a lot of fast-moving subjects, you can go with 60fps, but for most people, 30fps is the perfect balance.
2. Change Formats to ‘Most Compatible’
By default, your iPhone uses ‘High Efficiency’ mode to compress photos and videos into smaller file sizes. The problem? It sacrifices quality. Instead, go to Settings > Camera > Formats and switch to Most Compatible. This ensures your images are saved in higher quality and in a format that’s easier to edit and share!
3. Switch Photo Mode to 24MP (For iPhone 15 Pro & Newer)
If you have an iPhone 15 Pro or newer, you can upgrade your photos from 12MP to 24MP for extra sharpness and detail. Just go to Settings > Camera > Formats and make sure 24MP is selected under ‘Photo Mode.’ This gives you twice the resolution without taking up as much space as a RAW file.
I know this is a lot to remember, so I made a FREE iPhone Camera Settings Cheat Sheet with all of these settings listed out for you! You can grab it by clicking here so you don’t have to take notes—just follow along and download it later!
Enable Key Features for Better Control & Composition
Now that we’ve fixed the quality settings, let’s turn on a few features that’ll give you better control over your photos and make your shots look more professional.
4. Turn on Grid & Level for Better Framing
If you’ve ever taken a crooked photo or struggled with composition, this will change the game. Go to Settings > Cameraand turn on Grid & Level. This adds a rule of thirds grid to your camera screen and a level line to make sure your horizon is straight. It’s an easy way to instantly improve your composition!
5. Use Volume Up for Burst Mode
Have you ever tried capturing a moving subject, only to miss the perfect moment? Here’s a trick—go to Settings > Camera > Use Volume Up for Burst and turn it on. Now, instead of tapping the screen, just hold down the Volume Up button to capture a burst of photos in seconds!
6. Set Fusion Camera to 24mm, 28mm, and 35mm (For iPhone 15 Pro & Newer)
Newer iPhones let you change your default camera focal length. Instead of always shooting at 24mm, you can now set it to 28mm or 35mm. Head to Settings > Camera > Main Camera and choose the focal lengths that suit your style!
Adjust iPhone Photography Settings for Portraits & Lens Performance
If you love taking portraits or using the ultra-wide lens, these next settings are going to be a game changer!
7. Set Portraits in Photo Mode
If you want your portrait shots to look more natural, set your Portrait Mode to prioritize Photo Mode instead of cinematic-style depth. This keeps faces looking sharp while maintaining a natural blur in the background.
8. Turn on Lens Correction
Ultra-wide shots are great, but they often come with distortion—especially at the edges. To fix this, go to Settings > Camera and turn on Lens Correction. This helps straighten lines and make wide-angle photos look more natural.
9. Enable Live Mode in Preserve Settings
Ever taken a photo and wished you could go back and choose a different moment? Live Mode lets you do that! But it resets every time you open the camera—unless you go to Settings > Camera > Preserve Settings and turn on Live Photo. This keeps it enabled so you never miss a moment!
Final Thoughts on Camera Settings for iPhone
And there you have it! These simple changes will instantly improve your iPhone photos and videos—so go try them out and let me know in the comments which one made the biggest difference for you!
And don’t forget—I’ve put all these settings into a FREE iPhone Camera Settings Cheat Sheet that you can download right now! Just click here and you’ll have all these settings in one easy place.
Want more quick & easy iPhone photography tips? Subscribe to my YouTube channel for bite-sized tutorials that help you capture beautiful photos of your kids—without the overwhelm.
Watch my full step-by-step video on changing your iPhone Camera Settings here.
PUT A PIN ON IT!
And if you’re looking for a family or branding session, let’s chat!
Okay, real talk. If you’ve been stress-cleaning every corner of your house before your Tucson lifestyle family session, I need you to stop. Not because I don’t appreciate a tidy space, but because you’re probably focused on all the wrong things. So let me tell you what I’m actually looking for when I walk into […]
You have a session coming up, your house is mostly pulled together, and now you are standing in front of your closet completely blanking on what everyone should wear. Sound familiar? Because I hear this from families all the time and I want you to know it is totally normal and also totally fixable. Here […]
When you are planning your Tucson maternity session in, you are probably picturing that gorgeous hands-on-belly shot. And yes, we are absolutely getting that one! But some of my clients’ most loved images are the ones they never even knew they wanted. The quiet moment with their partner. The tiny detail that captures everything about […]