Ever taken a photo with your iPhone, only to wonder why it doesn’t look as crisp, vibrant, or professional as you expected? You’re not alone!
Many people unknowingly make a few simple mistakes that completely ruin their shots. The good news? These mistakes are super easy to fix, and once you do, your photos will instantly improve—no fancy equipment needed!
If you want to take stunning iPhone photos without frustration, keep reading. Mistake #1 is something almost everyone forgets to do (and it makes a huge difference!).
1. You’re Not Cleaning Your Lens
(and It’s Ruining Your Photos)
Think about how often you touch your phone. It’s in your pocket, your purse, or your hands all day long. That means the camera lens is constantly collecting dust, fingerprints, and smudges—which can make your photos look blurry, foggy, or dull.
The Fix:
Before snapping a picture, wipe your lens! A microfiber cloth is best, but even a quick swipe with your shirt can drastically improve sharpness and clarity.
Try this: Take a photo right now, then clean your lens and take the same shot again. The difference? Instantly sharper and clearer images.
Mistake #2 is one that almost everyone does out of habit—but it’s secretly ruining your photo quality!
2. You’re Pinching to Zoom Instead of Moving Closer
We’ve all been there. You’re trying to zoom in on something, so you pinch the screen to get a closer view. Big mistake!
When you pinch to zoom on an iPhone, you’re not actually zooming in—you’re just cropping the image. This leads to pixelated, grainy, and low-quality photos.
The Fix:
Instead of pinching to zoom:
- Move physically closer to your subject whenever possible.
- If you have an iPhone with multiple lenses (like the iPhone 13 or newer), use the optical zoom options (1x, 2x, or 3x) instead of pinching.
Try this: Take one photo using pinch zoom and another by stepping closer. You’ll immediately notice how much clearer and sharper the second image is!
And speaking of clarity… Mistake #3 is the biggest reason your photos don’t look profesh.
3. You’re Ignoring the Lighting
Bad lighting = bad photos. It’s that simple.
The iPhone camera is powerful, but if your lighting is too harsh, too dark, or just unflattering, no amount of editing can fully fix it.
The Fix:
- Shoot in good natural light – Soft, golden hour lighting (right after sunrise or before sunset) makes a huge difference.
- Avoid harsh midday sunlight – If shooting midday, find shade or use indirect light.
- Manually adjust exposure – Tap on your subject and drag the brightness slider up or down to get the perfect balance.
Try this: Take one selfie in harsh midday sun and another in the shade or golden hour. The difference? One looks harsh and unflattering, the other looks smooth and professional.
Mistake #4 is something most people don’t even realize they’re doing wrong—but fixing it can instantly make your photos look like they were taken by a pro!
4. You’re Ignoring Composition
Ever take a photo that just feels… off? That’s likely because of poor composition—the way your subject is framed in the shot.
The Fix:
- Use the Rule of Thirds – Turn on your camera grid and position your subject along the lines for a balanced shot.
- Look for leading lines – Roads, pathways, and walls can naturally guide the viewer’s eye to your subject.
- Watch your framing – Don’t accidentally cut off heads, hands, or feet in portraits.
Try this: Take a photo using the rule of thirds, then compare it to one without it. Notice how much more balanced and professional the first one looks?
The last mistake is one that could save you from ever missing the perfect shot again!
5. You’re Not Using Live Mode for Motion Shots
Have you ever captured a moment, only to realize later that someone blinked, moved, or the shot came out blurry? It’s frustrating!
The Fix:
- Use Live Mode! It records multiple frames before and after you take the picture, so you can go back and select the best frame later.
- How to use it: Open your camera, make sure the Live icon (three circles) is yellow, and snap your shot.
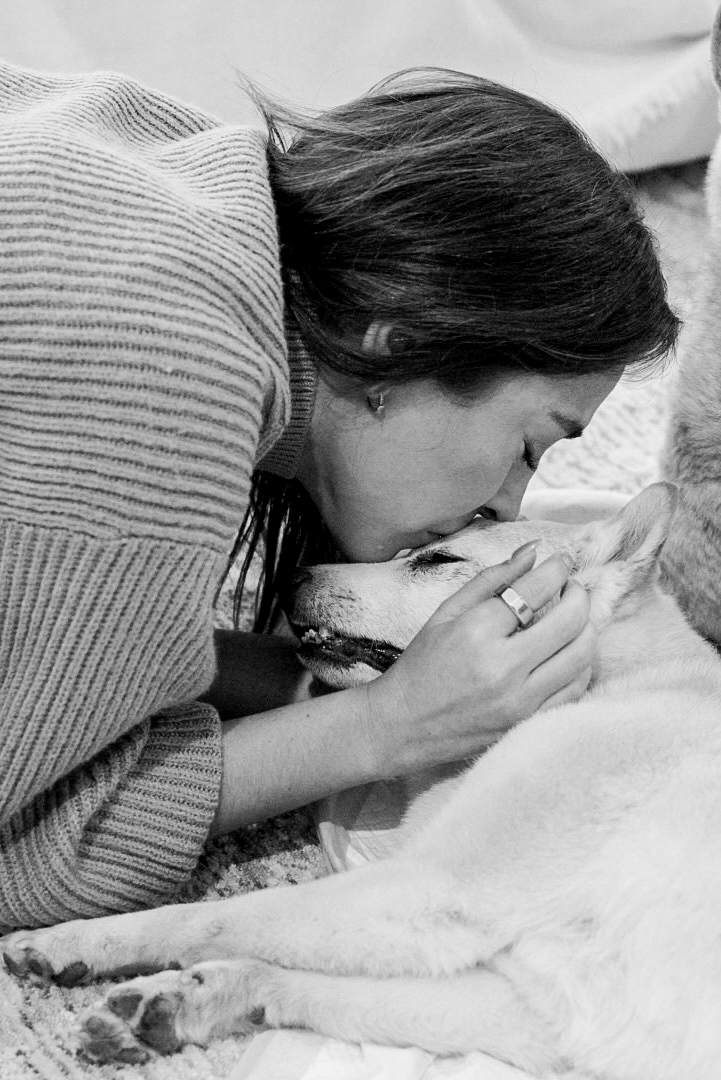
Try this: Take a Live photo of a moving subject (like a pet or child), then go back and choose the sharpest frame. No more blurry action shots!
Quick Recap – Fix These 5 Mistakes Today!
- Clean your lens before taking a photo.
- Stop pinching to zoom—move closer instead.
- Use good lighting and adjust exposure manually.
- Improve composition with the rule of thirds and leading lines.
- Use Live Mode to capture the best moment in action shots.
Now it’s your turn!
Which of these mistakes were you making? Try these fixes today and see the difference for yourself!
You can also watch the video version here!
Put a pin on it!

If you’ve ever had a dog, you know they’re more than just pets—they’re family. They see you at your best and your worst and love you through it all. That was my sweet Chipis, my stubborn, adventurous, and fiercely loyal Shiba Inu. Saying goodbye to her this past month was one of the hardest things […]
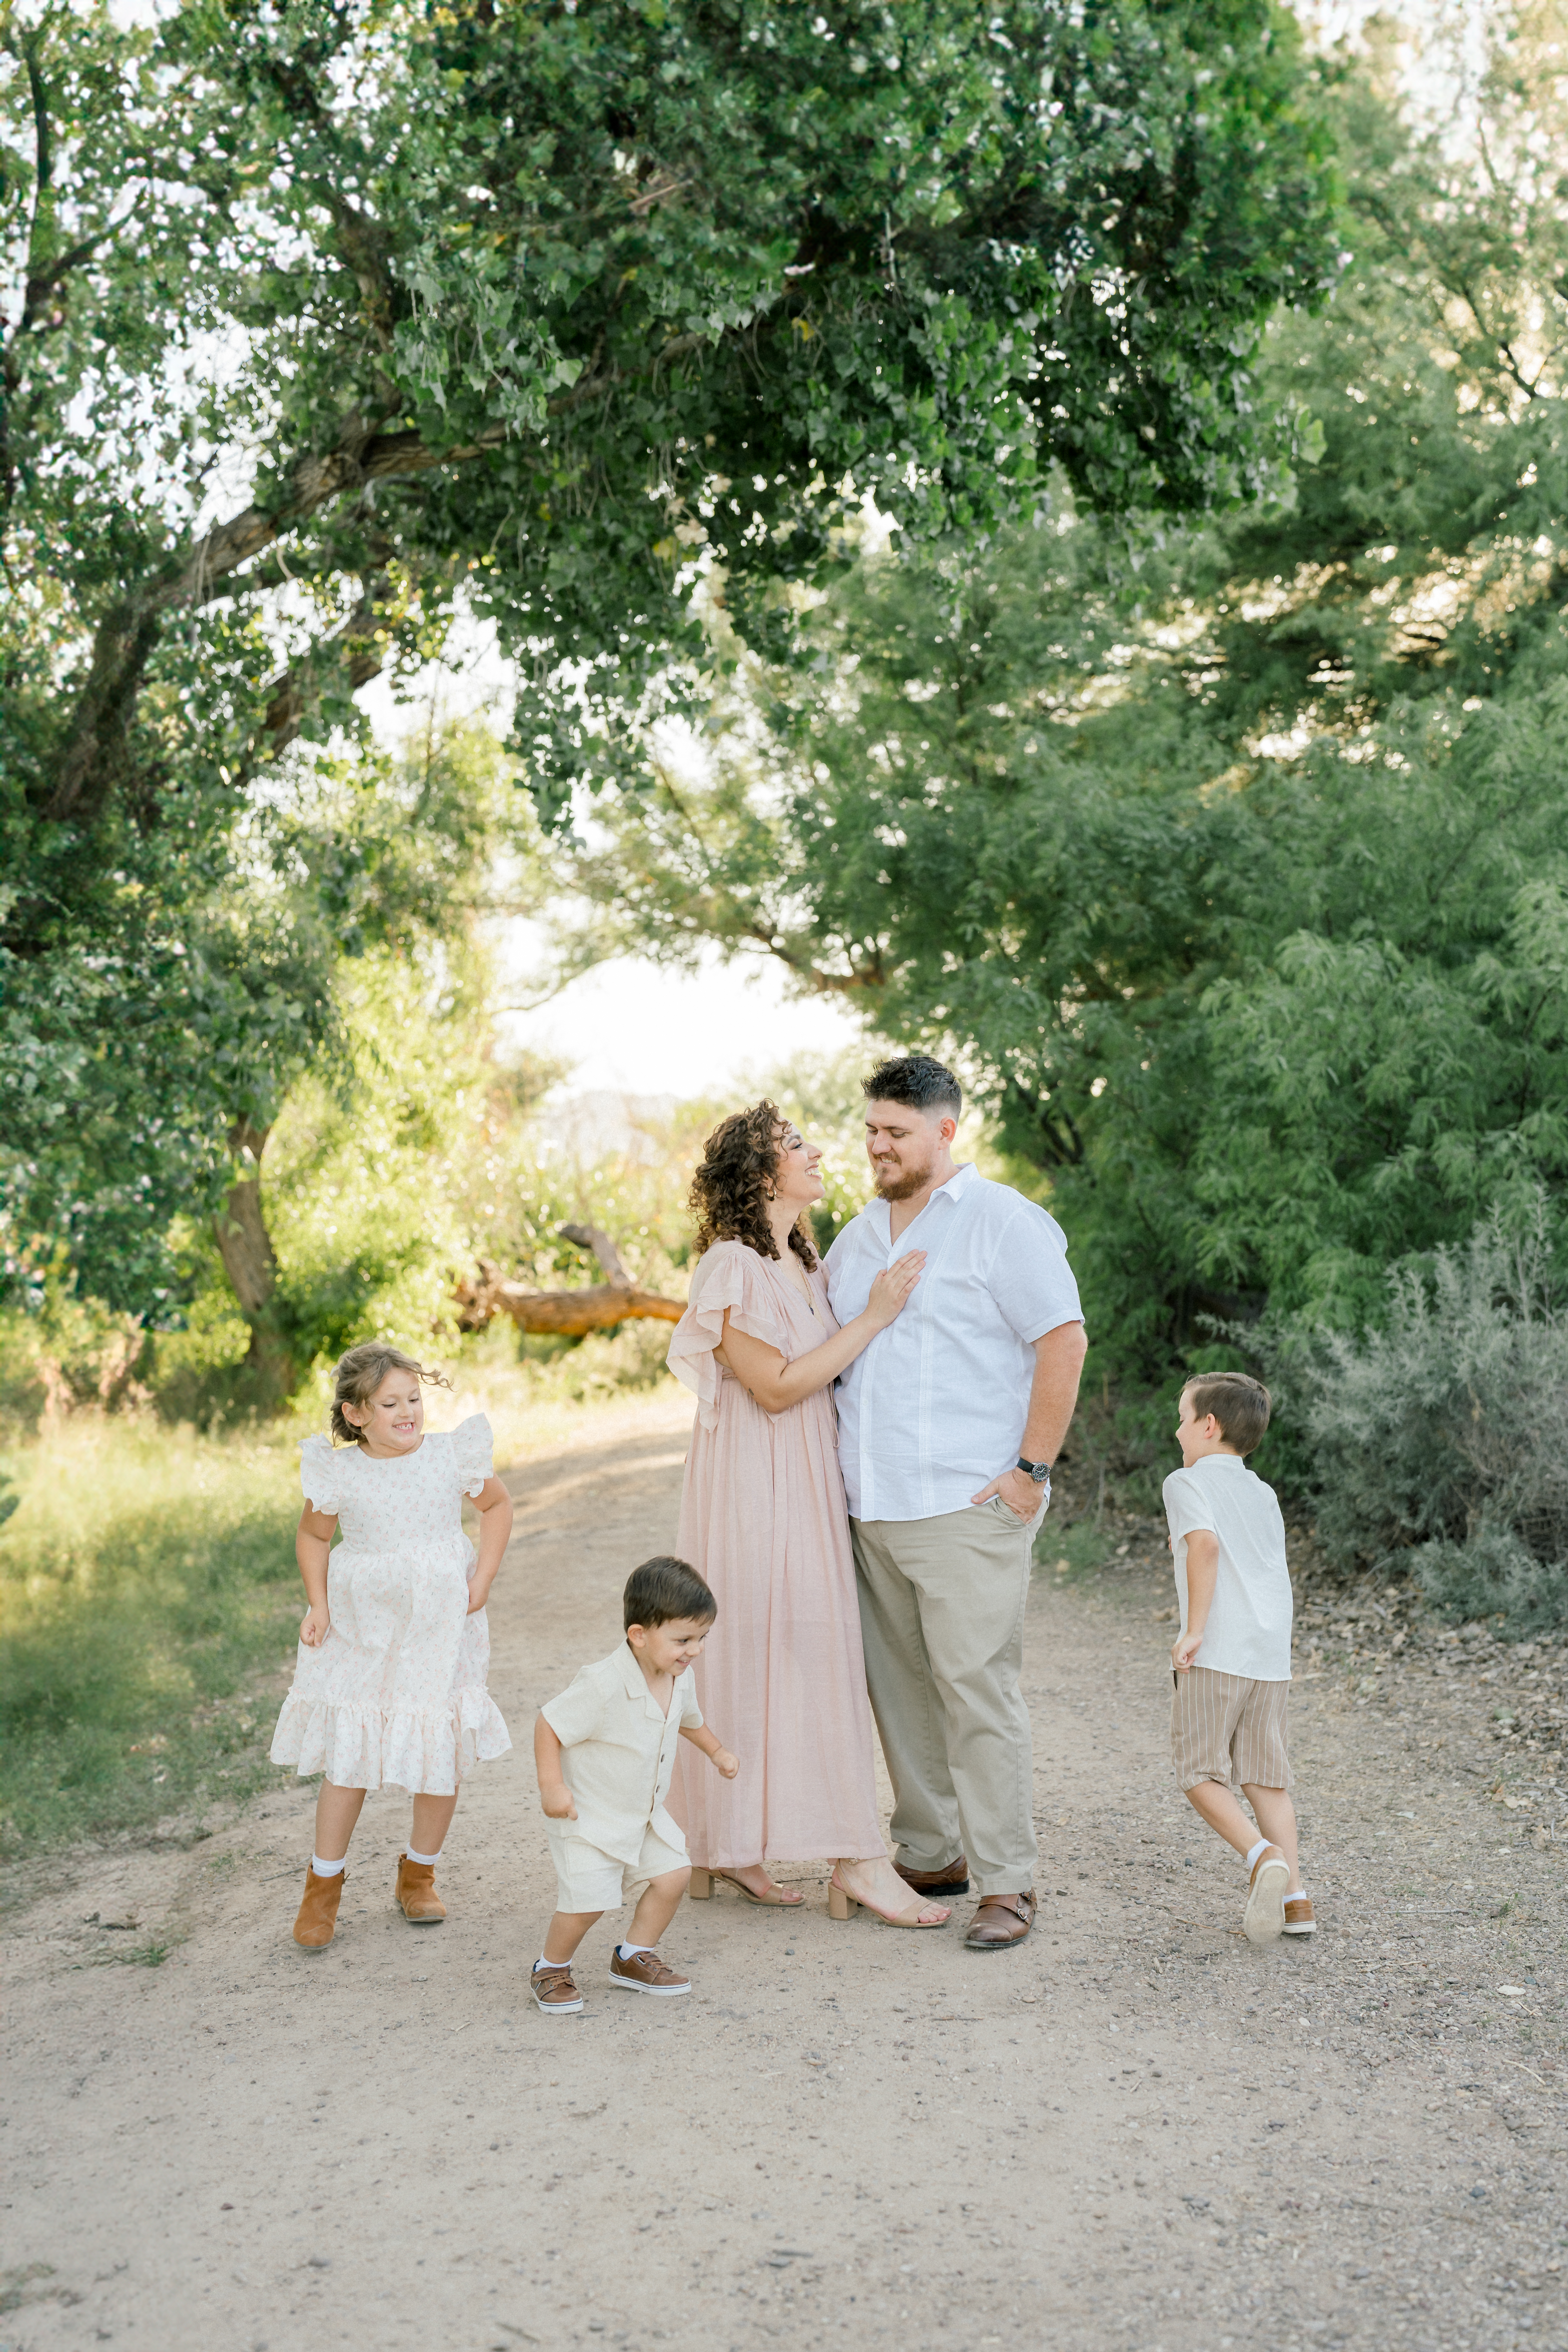
During a vibrant photo session at Sweetwater Wetlands Park, the Latorre family, including twins and a younger brother, embraced the outdoors, allowing their natural interactions to shine through in every capture. The park’s lush scenery and serene atmosphere paired with the family’s soft-toned outfits offered a perfect setting. Despite some challenges with sunlight, the photographer’s skill ensured beautiful results, capturing genuine, joyful moments that the family will cherish as memories.
In Oro Valley, Arizona, a family photographer captured a magical session against the stunning backdrop of the Sonoran Desert and Catalina Mountains during twilight’s blue hour. The family’s close bond and synchronized outfits complemented the natural scenery, yielding photographs rich with moments of joy, love, and connection. The session highlighted the enduring beauty of the desert and the timeless essence of family ties, offering a sanctuary for creating and preserving cherished memories.